How to connect Godaddy Domain Name to Hostgator Hosting Server
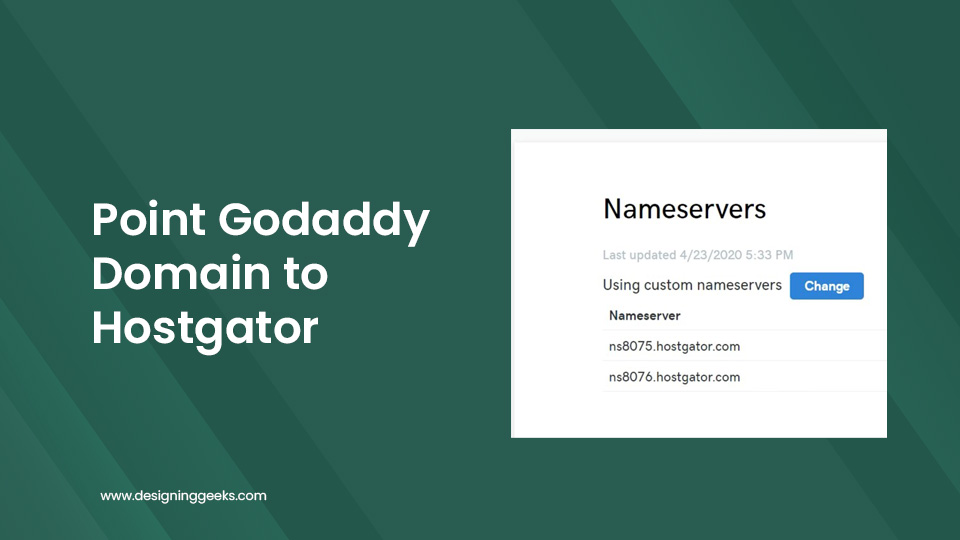
How to connect Godaddy Domain Name to Hostgator Hosting Server
Creating a Self-Hosted Blog/website is quite easy. All you need is, a domain name and a web host. And then you need to Link the domain and hosting together.
It’s better to go with a company which is famous for web hosting. HostGator is one of the most popular web hosting providers. It has already hosted 9,000,000 domains on its server.
Buying a domain name from GoDaddy and hosting it on HostGator is the best combination. In this post, I will show you how to point GoDaddy domain name to HostGator web hosting.
First you need to have;
Step 1: Find the Hostgator Name Servers
You can get your HostGator nameservers on your welcome email from HostGator. Or you can get it from cPanel.
Most of the time your cPanel Login link will be http://yourdomain.com/cpanel. Once you’ve logged in to HostGator Control Panel, you’ll find the nameservers in the right-hand sidebar under ‘General Information’.
Usually your Name Servers looks like this; ns3574.hostgator.com and ns3575.hostgator.com.

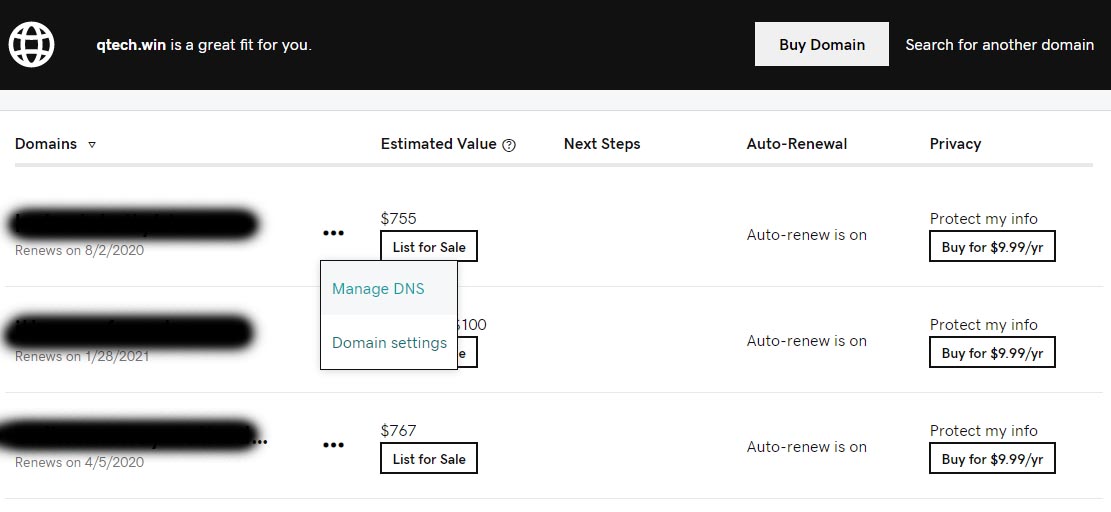
Step 2: Login to Godday account and enter Name Servers
Now login to your GoDaddy Account. Once logged in, click on “Manage DNS” from DOMAINS.
Now a Popup with Nameserver Settings page will open-up. Now select “Enter my oen nameserver” then Enter Hostgator Nameservers.
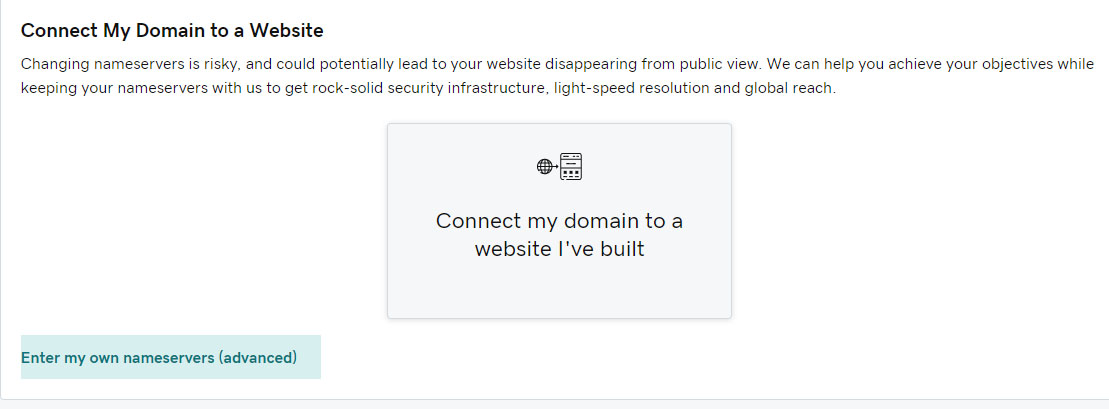
Click on OK and your nameservers will be pointed to HostGator.
It will take some time for the nameservers to propagate.
Step 3: Add Domain On HostGator
If you entered the domain name while signing up for HostGator, you don’t need to add the domain to HostGator. It has already been added.
If not, read on.
Now go back to your HostGator cPanel. Click on ‘Addon Domains’ under Domains.
A new page will open-up. Fill the required field.
- New Domain Name — add your domain name.
- Subdomain/FTP Username — This filed will be created automatically, it’s better if you don’t change.
- Document Root — This filed will also be created automatically, don’t change it.
- Password — Enter a new password
Now click on Add Domain. See the below screenshot for more reference.

On the next page, you’ll get the message that your domain has been added.
That’s it. You are done. It may take some time to implement the changes. (Not more than 24 hours)
Aute mi ut suspendisse velit leo, vel risus ac. Amet dui dignissim fermentum malesuada auctor volutpat, vestibulum ipsum nulla.
Sed reprehenderit quam, non felis, erat cum a, gravida lorem a. Ultricies in pellentesque ipsum arcu ipsum ridiculus velit magna, ut a elit est. Ultricies metus arcu sed massa. Massa suspendisse lorem turpis ac.
Massa suspendisse lorem turpis ac. Pellentesque volutpat faucibus pellentesque velit in, leo odio molestie, magnis vitae condimentum.